Fall is the best time of year to do some leaf rubbings, but anytime of the year when trees have leaves will work. This activity is very hands on and can be fun for all ages. You will create a unique book that incorporates art with the leaf rubbings and helps to identify different trees using their leaves. This is a great way to physically touch nature around you. Creating this book gets people up close exploring the differences and similarities between the leaves.
Supplies for leaf rubbing
- A leaf from each tree you want to do this activity with. If doing this with students, you could have each student bring a leaf from their favorite tree at home or a park to school to see the variety of trees they pick. This could also be a problem if they pick a leaflet from a compound leaf. It would make the tree harder to identify. If you are in an area that has no trees with leaves; you could do this activity with plastic rubbing templates that you can buy. Acorn Naturalist and Nature Watch are both great nature online stores that sell rubbing templates.
- Plain white paper or a template page with a space big enough for the leaf.
-

crayons without paper Crayons without paper wrapped around them is the way I like to do this project, but pencils, chalk, and pastels will work also. This is a good activity to use the broken crayons all kids seem to have and take the paper off them.
- A way to bind the book together either with staples, a ring, or use a binding machine. If you want this to be a field guide, to bring outside, I recommend laminating each page to make it more durable.
- Something to write with such as crayons, pencils, or pens.
Process of leaf rubbing
- Lay one leaf on a hard flat surface.
- Place a sheet of paper on top of the leaf.
- Hold the paper down, so the leaf doesn’t move at all. If you need to place a piece of double-sided tape to hold the leaf to the hard flat surface you can try that, but you will also need to make sure the paper doesn’t move. Sticky tack can help with this. Younger students could use this help to keep the paper and leaf in place during the rubbing.
Bur Oak Leaf on hard flat surface Hold down the leaf and paper with one hand and use the other to hold the crayon on the side rubbing from the middle outward start of leaf rubbing Finished Bur Oak leaf rubbing Finished leaf rubbing of a Bur Oak with name of tree on the paper - Use the side of the crayon and rub from the middle of the leaf outward toward the edge of the leaf. Keep repeating this moving from the middle to the outer edges until the whole leaf is showing. Make sure you get the edges and all the veins in the leaf. The details are important. I would even use the same color crayon that the leaf happens to be, if the leaf has changed color. That is why fall is a good time to do this activity. The leaf rubbing should be demonstrated depending on who is doing the project. Many kids who have never done rubbings before will try to use the tip of the crayon and it doesn’t work out well. Doing compound leaves are challenging, so trees like ash, box elder, or black walnut will be harder to do. Especially if the compound leaf has many leaflets that make up the whole leaf.
- Write the name of the tree on the paper. If you don’t know what tree the leaf is from, you can take picture of it with your phone and use AI to search for it. You also need to figure out what you want students to know. Do they need the exact name of the tree, such as red maple or bur oak or even the scientific name? Do you just want to put the name of the family it is a part of such as maple and oak?
- Repeat these steps for all the leaves you want to do. I would use a different piece of paper for each leaf.
Problems you might encounter with activity
- If the leaf or paper moves around, the rubbing will not turn out like the actual leaf. It is very important to hold it still.
- If the tip of the crayon or other writing tool is being used instead of the side of it; the picture will not turn out. That is why I would demonstrate for younger students.
- If the leaf is too big, it won’t fit on the paper. I would try to choose a small version of each leaf and make sure it is a whole leaf. Sometimes bugs eat holes in the leaves and that can make the picture not turn out how you might want it to.
- If the leaf is getting dried out, it might break apart or not lie flat.
Alternative Ideas
- You could do a bark rubbing for each tree leaf you’ve done. A bark rubbing needs to be done on the tree, so bring the paper with you to the tree and hold it in one place on the tree trunk. Use the side of a crayon and rub back and forth on the paper. It will turn out better if you don’t let the paper move around when doing the rubbing.
- You could also add information about each tree to help identify it. You could write or draw what the seed looks like. Some trees have the branches alternate and some are across from each other. Where does the tree like to grow? It might grow near water, rocky soil, in colder climates or swamping conditions.
- Try drawing each leaf or tracing each leaf.
- You could use different leaves put together to create a picture like a person or an animal. Then put a piece of paper on top of it and do a crayon rubbing over the creation. You could even use bark rubbing for part of the creation to give it some texture.
- You could do a self-portrait using leaves and then do the crayon rubbing.
Cover Page
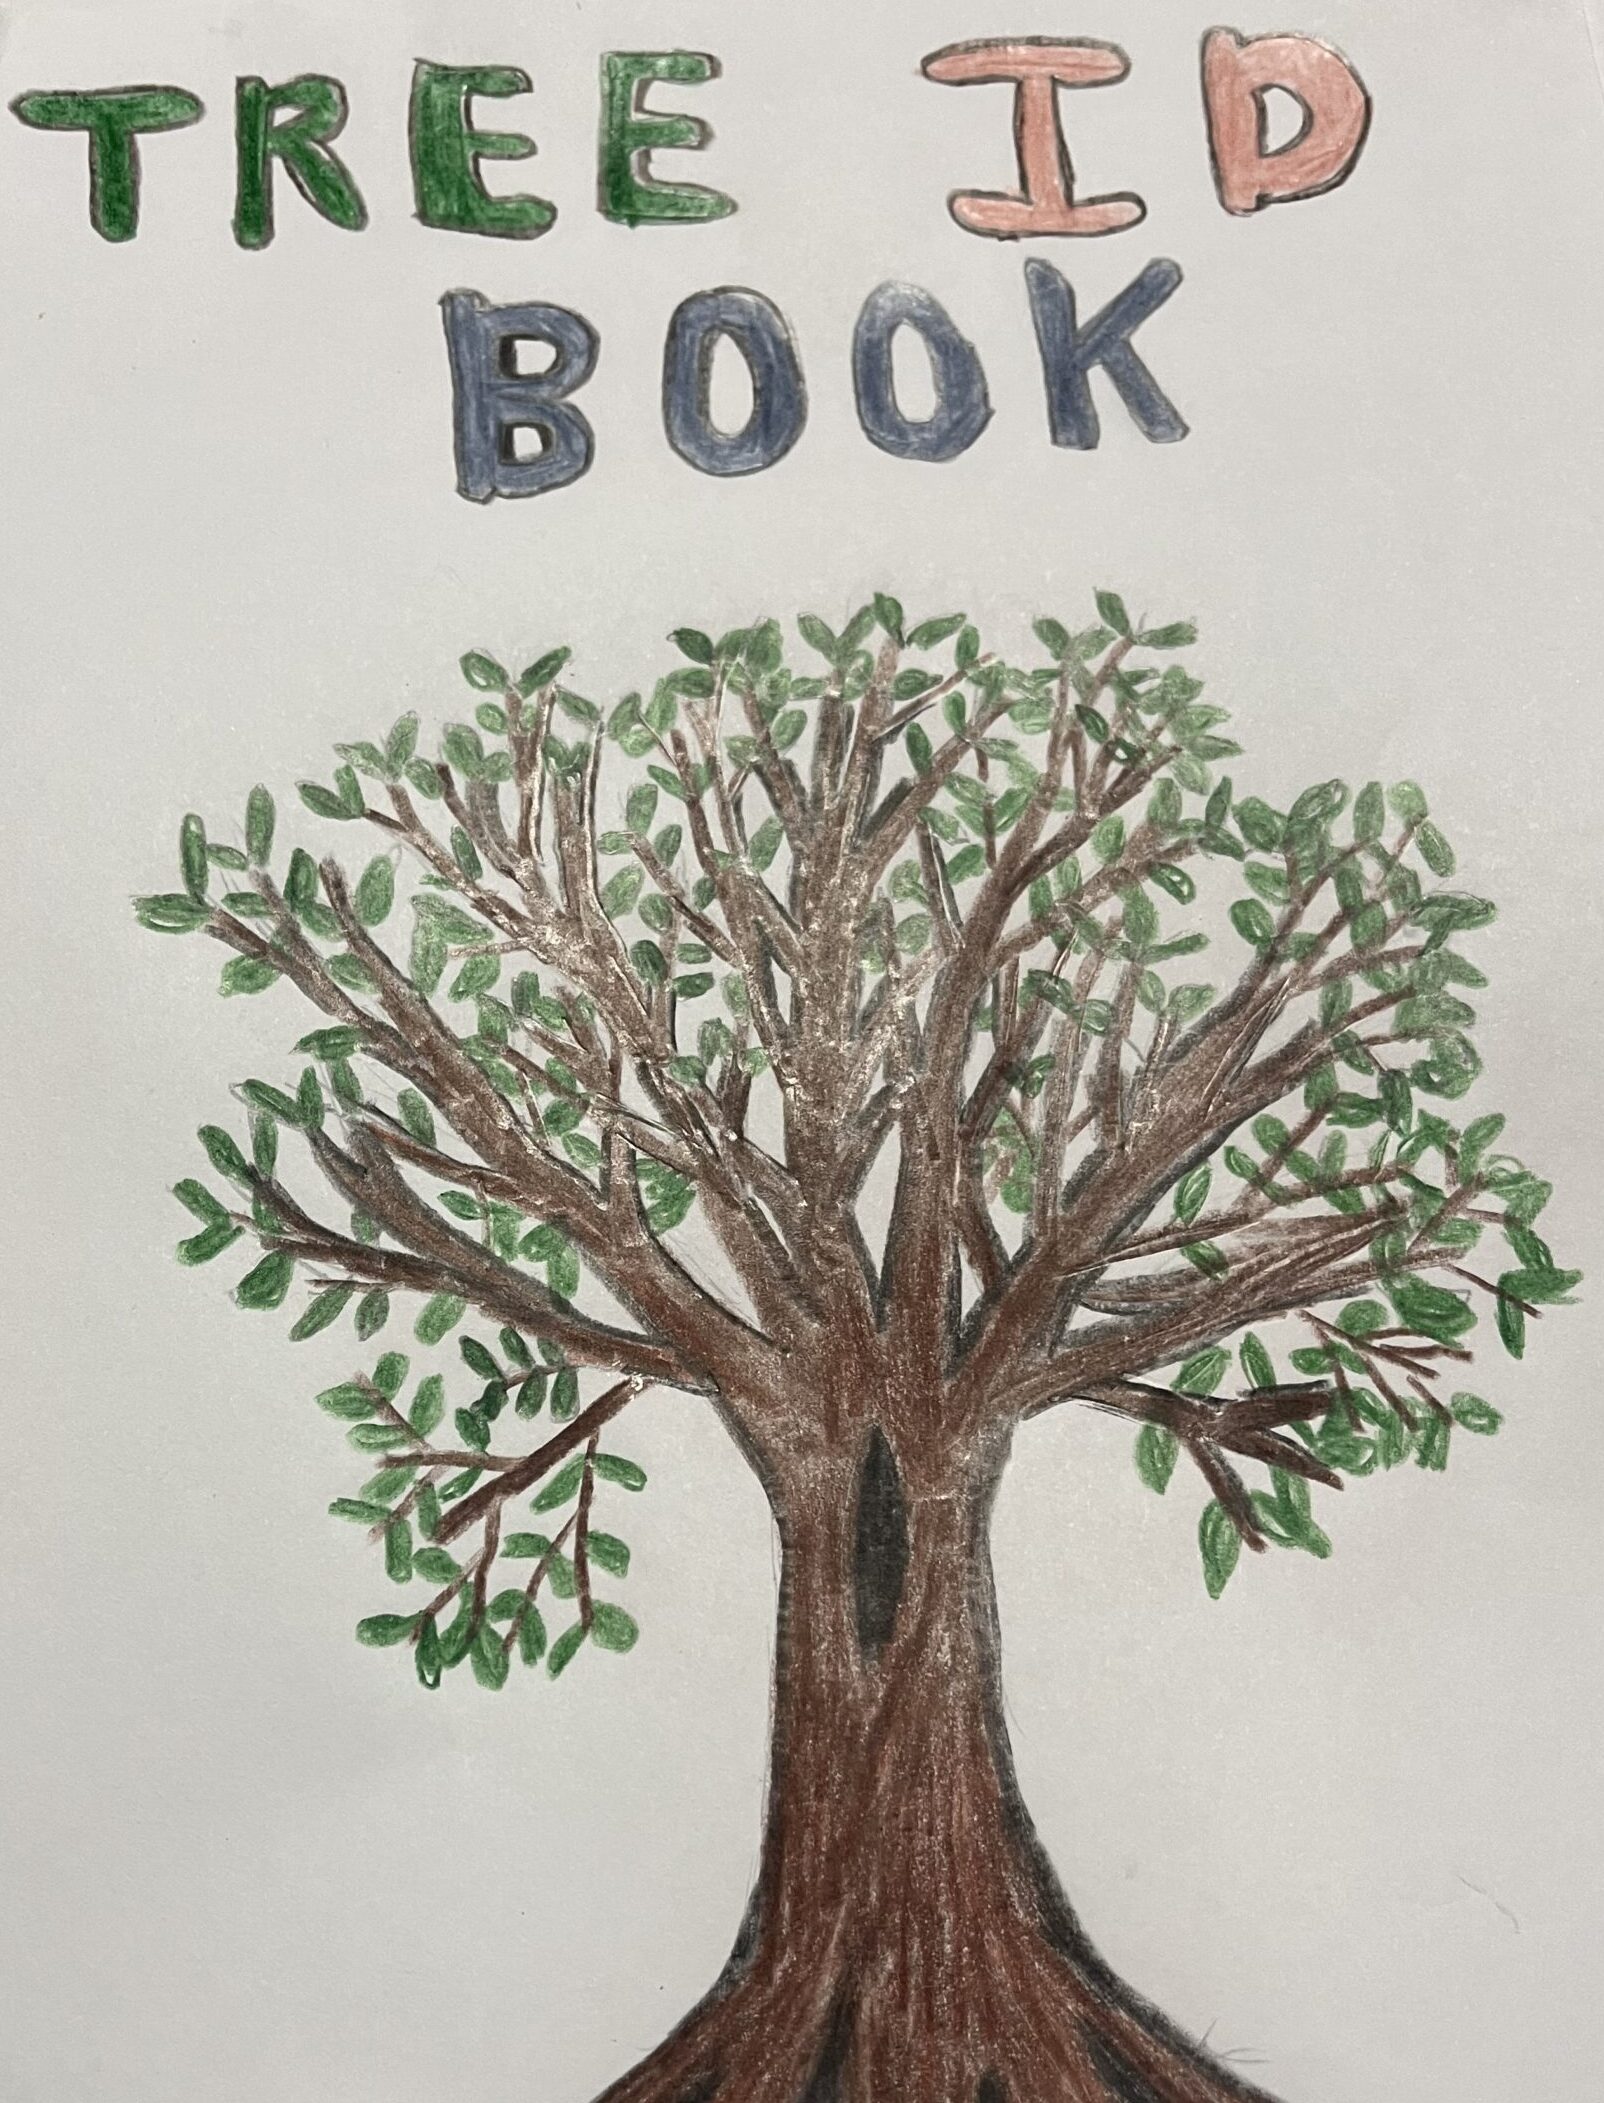
 Make a cover page with the title of “Tree ID Book”, “Tree Identification Book”, or “Book of Tree Leaves”. You can come up with a different title as well. I like to draw a tree on the cover of my ID book. Some people just write the title Whoever made the book should also write their name on the cover with the word “by” or “author” in front of it.
Examples


Leave a Reply