Tumbling and polishing rocks is not as hard as you might think. It does take four different stages, but the only thing different is really the type of grit or polish you use during each stage. The process also takes patience because each stage takes about a week to complete. That means the whole thing takes about a month from start to finish.
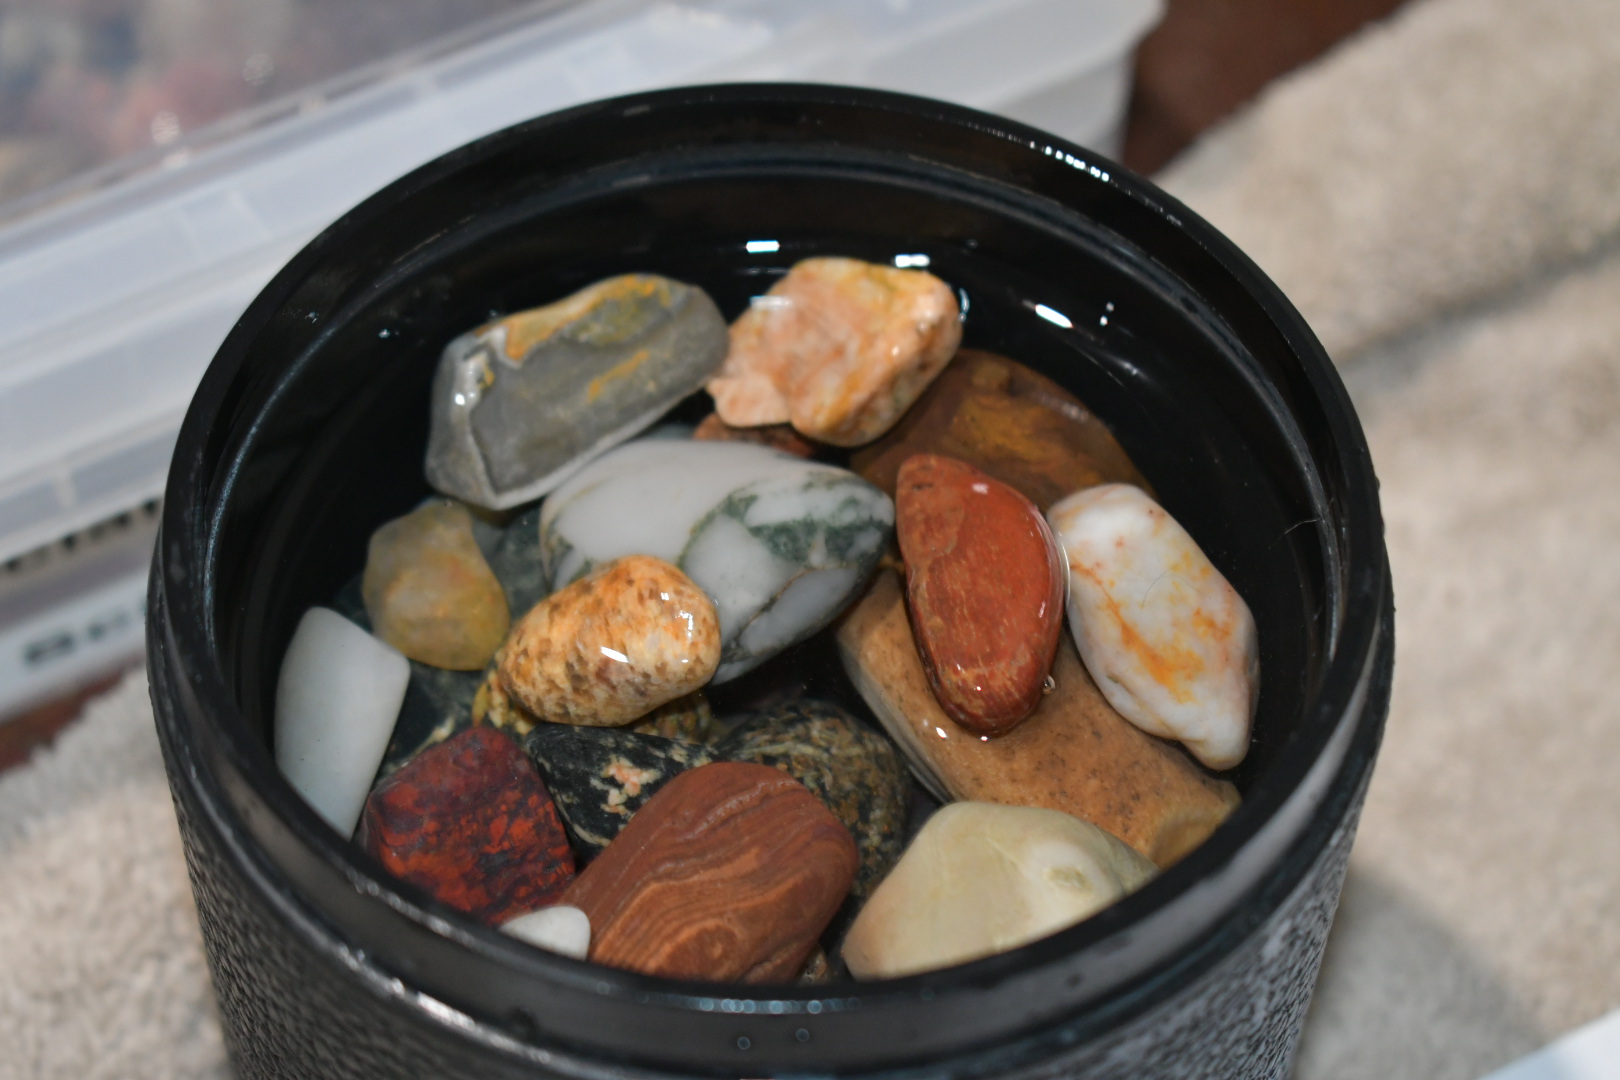
These are pictures of some of the rocks before I tumbled them. The quarter in some of the pictures is to help you see the size of the rocks.


![]()


Materials needed
Please see my other post on supplies needed to tumble and polish rocks.
If collecting your own rocks to tumble; please see my other post on rock collecting.
Stage 1
![]() Stage one starts with putting the rocks into the barrel if you’re using a rotary tumbler. If you are using a vibratory tumbler you will have to read the directions for your specific tumbler because I have never used this type of rock tumbler. Fill the barrel between half and 5/8ths full of rocks. Then put water into the barrel, so it covers all the rocks. Next, put the 60-90 size grit into the barrel. Depending on the size of the barrel your using, will determine how much grit you need to put in. For 3-pound barrel use 4 tablespoons of 60-90 grit. For 9-pound barrel use 8 tablespoons of 60-90 grit. Next, place the cover back on and tighten it down. Finally, put it on the rock tumbler for 7 days. After seven days, open the barrel and see what a few rocks look like. If they are not shaped the way you want them to be, put them back into the barrel and run a few more days. If they still aren’t the way you want, clean the rocks and barrel and put new 60-90 grit into the barrel and run another 7-day cycle.
Stage one starts with putting the rocks into the barrel if you’re using a rotary tumbler. If you are using a vibratory tumbler you will have to read the directions for your specific tumbler because I have never used this type of rock tumbler. Fill the barrel between half and 5/8ths full of rocks. Then put water into the barrel, so it covers all the rocks. Next, put the 60-90 size grit into the barrel. Depending on the size of the barrel your using, will determine how much grit you need to put in. For 3-pound barrel use 4 tablespoons of 60-90 grit. For 9-pound barrel use 8 tablespoons of 60-90 grit. Next, place the cover back on and tighten it down. Finally, put it on the rock tumbler for 7 days. After seven days, open the barrel and see what a few rocks look like. If they are not shaped the way you want them to be, put them back into the barrel and run a few more days. If they still aren’t the way you want, clean the rocks and barrel and put new 60-90 grit into the barrel and run another 7-day cycle.
After tumbling of stage 1
Checking a couple rocks first
The next part of rock tumbling is dumping out the slurry of water and grit after tumbling them. I recommend taking out a couple of the rocks before you dump the slurry, to see if you like the results you see. The first couple stages of tumbling are meant for shaping the rocks and making them smooth. They won’t be shinny yet, so just look at the shape and edges of them. If you don’t like the results, put the lid back on and tumble a couple more days. After a couple more days, if you still don’t like their shape then put new water and grit inside the barrel and redo stage 1 again.
What to do after tumbling at each stage
Dumping out the slurry
When dumping out the slurry of grit and water, DON’T put it down the drains inside your house! Dump it outside, because it will damage your plumbing. I like to use an old bucket or bowl to dump the slurry into and then bring it outside and dump it. To help separate the rocks from the slurry use a strainer over the bowl or bucket. Then you can also run water on the rocks to clean them off. Make sure the bucket or bowl is still under the strainer when you do this.
Cleaning the rocks
Cleaning the rocks after each stage is important. I put Borax soap in a bowl or bucket of water and use an old toothbrush or some kind of brush with bristles to get into the cracks. Another thing you could do is put all the rocks back in the barrel with water and Borax and tumble another hour or two to help clean the rocks and barrel, then take them out. I prefer to clean my rocks by hand after all the stages except the last one. Make sure you keep dumping the water, from cleaning the rocks, outside. Make sure you also wash your barrel with the Borax to make sure none of the grit from the previous stage is left in it.
Check the rocks
Check the rocks to make sure there isn’t any holes with grit left inside. They also shouldn’t have any cracks in them because the grit can get stuck in the cracks and contaminate your next stage.
What the rocks look like after 7 days of tumbling in stage 1
Stage 2
Stage two is done the same way as stage one, but this time use 120-220 grit in the barrel. If you have different speeds for your tumbler, use a medium or slow speed. First put the rocks into the barrel and add some ceramic media to the barrel to make the level about half to 5/8ths full. Then fill with water to cover the rocks. Next, add 4 tablespoons of 120-220 grit in a 3-pound barrel. Add 8 tablespoons of 120-220 grit in a 9-pound barrel. Finally, put the lid on the barrel, and make sure to tighten it down. Tumble the rocks for about 7 days. This stage is about getting the scratches out of the rocks and finishing the process of making them smooth.
What the rocks look like after 7 days of tumbling in stage 2
A few individual rocks to focus on throughout the tumbling process.
Stage 3
Stage three is the pre-polish stage. Continue to do this stage the same as all the other stages, but this time use the pre-polish grit size 500 in the barrel. First, put the rocks back in the barrel after making sure the rocks and barrel are totally clean of all the old grit. Then add the ceramic media to make sure the barrel is half to 5/8ths full. Fill with water until it covers all the rocks. Then put 3 tablespoons of the pre-polish grit size 500 into a 3-pound barrel or put 6 tablespoons in a 9-pound barrel. Finally, put on the lid and tighten it down. Tumble the rocks for at least 3 full days, but you can tumble them up to 7 or 8 days on the slowest speed for best results. After the rocks have gone through this stage, they should show a luster when dry.
These are before I added the grit and water for the third stage of tumbling. You can see the ceramic media mixed in with the rocks in each barrel.
What the rocks look like after 7 days of tumbling in stage 3
Stage 4
Stage four is the final polish stage. Make sure you have cleaned the barrel and rocks of any previously used grit or pre-polish to prevent your rocks from getting scratched during this stage. Add the rocks to the barrel and put ceramic media in to make sure the barrel is half to 5/8ths full. Next add water to cover the rocks. Then put 4 tablespoons of polish into a 3-pound barrel or put 8 tablespoons into a 9-pound barrel. Replace the lid and tighten it down. Tumble the rocks for 7 – 9 days on slow. The longer you polish them the better the results tend to be.
After you finish this stage and clean the barrel and rocks. Then put the rocks back into the barrel and fill with water to cover the rocks. Then put a tablespoon or two of Borax or another powdered detergent that doesn’t make a lot of suds into the barrel. Finally, tumble the rocks for a few hours or overnight.
What the rocks look like after 7 days of tumbling in stage 4 and cleaning cycle
Pictures are coming soon.
Helpful Tips
- Don’t fill the barrel too full or the rocks can’t move around like they need to get good results.
- Rock tumbling is not a quiet activity. I recommend putting your rock tumbling machine in the basement or garage away from where people can hear it. The machine needs to run 24 hours a day for about a month to do one batch of rocks.
- If you want the best results, tumble rocks that have a similar hardness together. You can use the Mohs hardness scale to test the rocks. Most rocks you tumble will be between 6 and 8 on the hardness scale. As long as the rocks don’t deviate more than 2 from each other you should be fine. I don’t normally check this when tumbling. I just try and see what works. If you don’t get good results; keep in mind this could be one of the reasons you’re not.
- Use a variety of sizes of rocks to tumble together. This allows more contact points for the rocks to hit, when the rocks are tumbling and gives better results. The best size rocks for tumbling are 1/2 inch to 1 1/2 inch. If they are too small, they will end up eroding away. If they are too big, they won’t be able to move well in the barrel.
- Make sure the rocks are smooth or microcrystalline that you want to tumble. If they are sandy or gritty, they will fall apart during tumbling and damage the other rocks. A way to check is if you rub the rocks together and they produce any sand-like particles; then don’t use them.
- Rock tumbling is a good activity to do experiments. You can experiment with the amount of grit used and the days tumbled for each cycle. You could also experiment with how full the barrel is or how much media used during each stage. Just remember to keep notes on what works and what doesn’t work. When you get to the end of the rock tumbling process, if you don’t like the results; you can always do it over again.
- If you have the ability to use a different barrel for each stage of the process; I would recommend that. This would prevent any grit from previous stages contaminating other stages. I haven’t done this, but I do know some people who are very serious about tumbling rocks that do.
- Make sure when you reuse the same ceramic media over again; only use it with the same stage it was already used for. This way you don’t need to worry about the ceramic media being contaminated by other grit from other stages.
- Instead of using ceramic media to keep the volume up in the barrel, you can use other rocks that are at the same stage of tumbling. You could do a few different batches of stage 1 and stage 2 that you have enough rocks for stage 3 without using media.


Leave a Reply