
Tumbling and polishing rocks is a hobby for any age. You can get as serious as you want with this hobby or do it just for fun. Some people get way into rock tumbling and write notes about what worked and what didn’t. I do rock tumbling just for fun. It also helps me do something more with all those rocks I already collected. One of the best things about tumbling rocks is seeing the change in the stones after each of the four stages of the process. This activity also helps you and your kids work on your patience because it’s not quick.

Materials needed to tumble and polish rocks
- rock tumbling machine
- grit

- rocks
- ceramic media

- Borox
- Distilled water

- strainer
- bowl or bucket
Rock Tumbling Machine
The rock tumbling machines can range in quality. I started with a Dan and Darci rotary rock tumbler kit (paid link) as a present from my kids. It came with a book to help me begin, a few rocks, all the grit I would need, and a strainer. This rock tumbler was great for starting to see if I liked rock tumbling. The tumbling machine lasted me a few years of continuous rock tumbling before it gave out and didn’t work anymore. It also had different settings. I could pick between three different speeds to tumble my rocks. It also let me set the days I wanted to tumble the rocks. This feature is nice if you forget about the tumbler running because it stops running when it reaches the number of days you chose on the settings. I recommend this tumbler for people just starting because it includes everything you need and lasts a while.
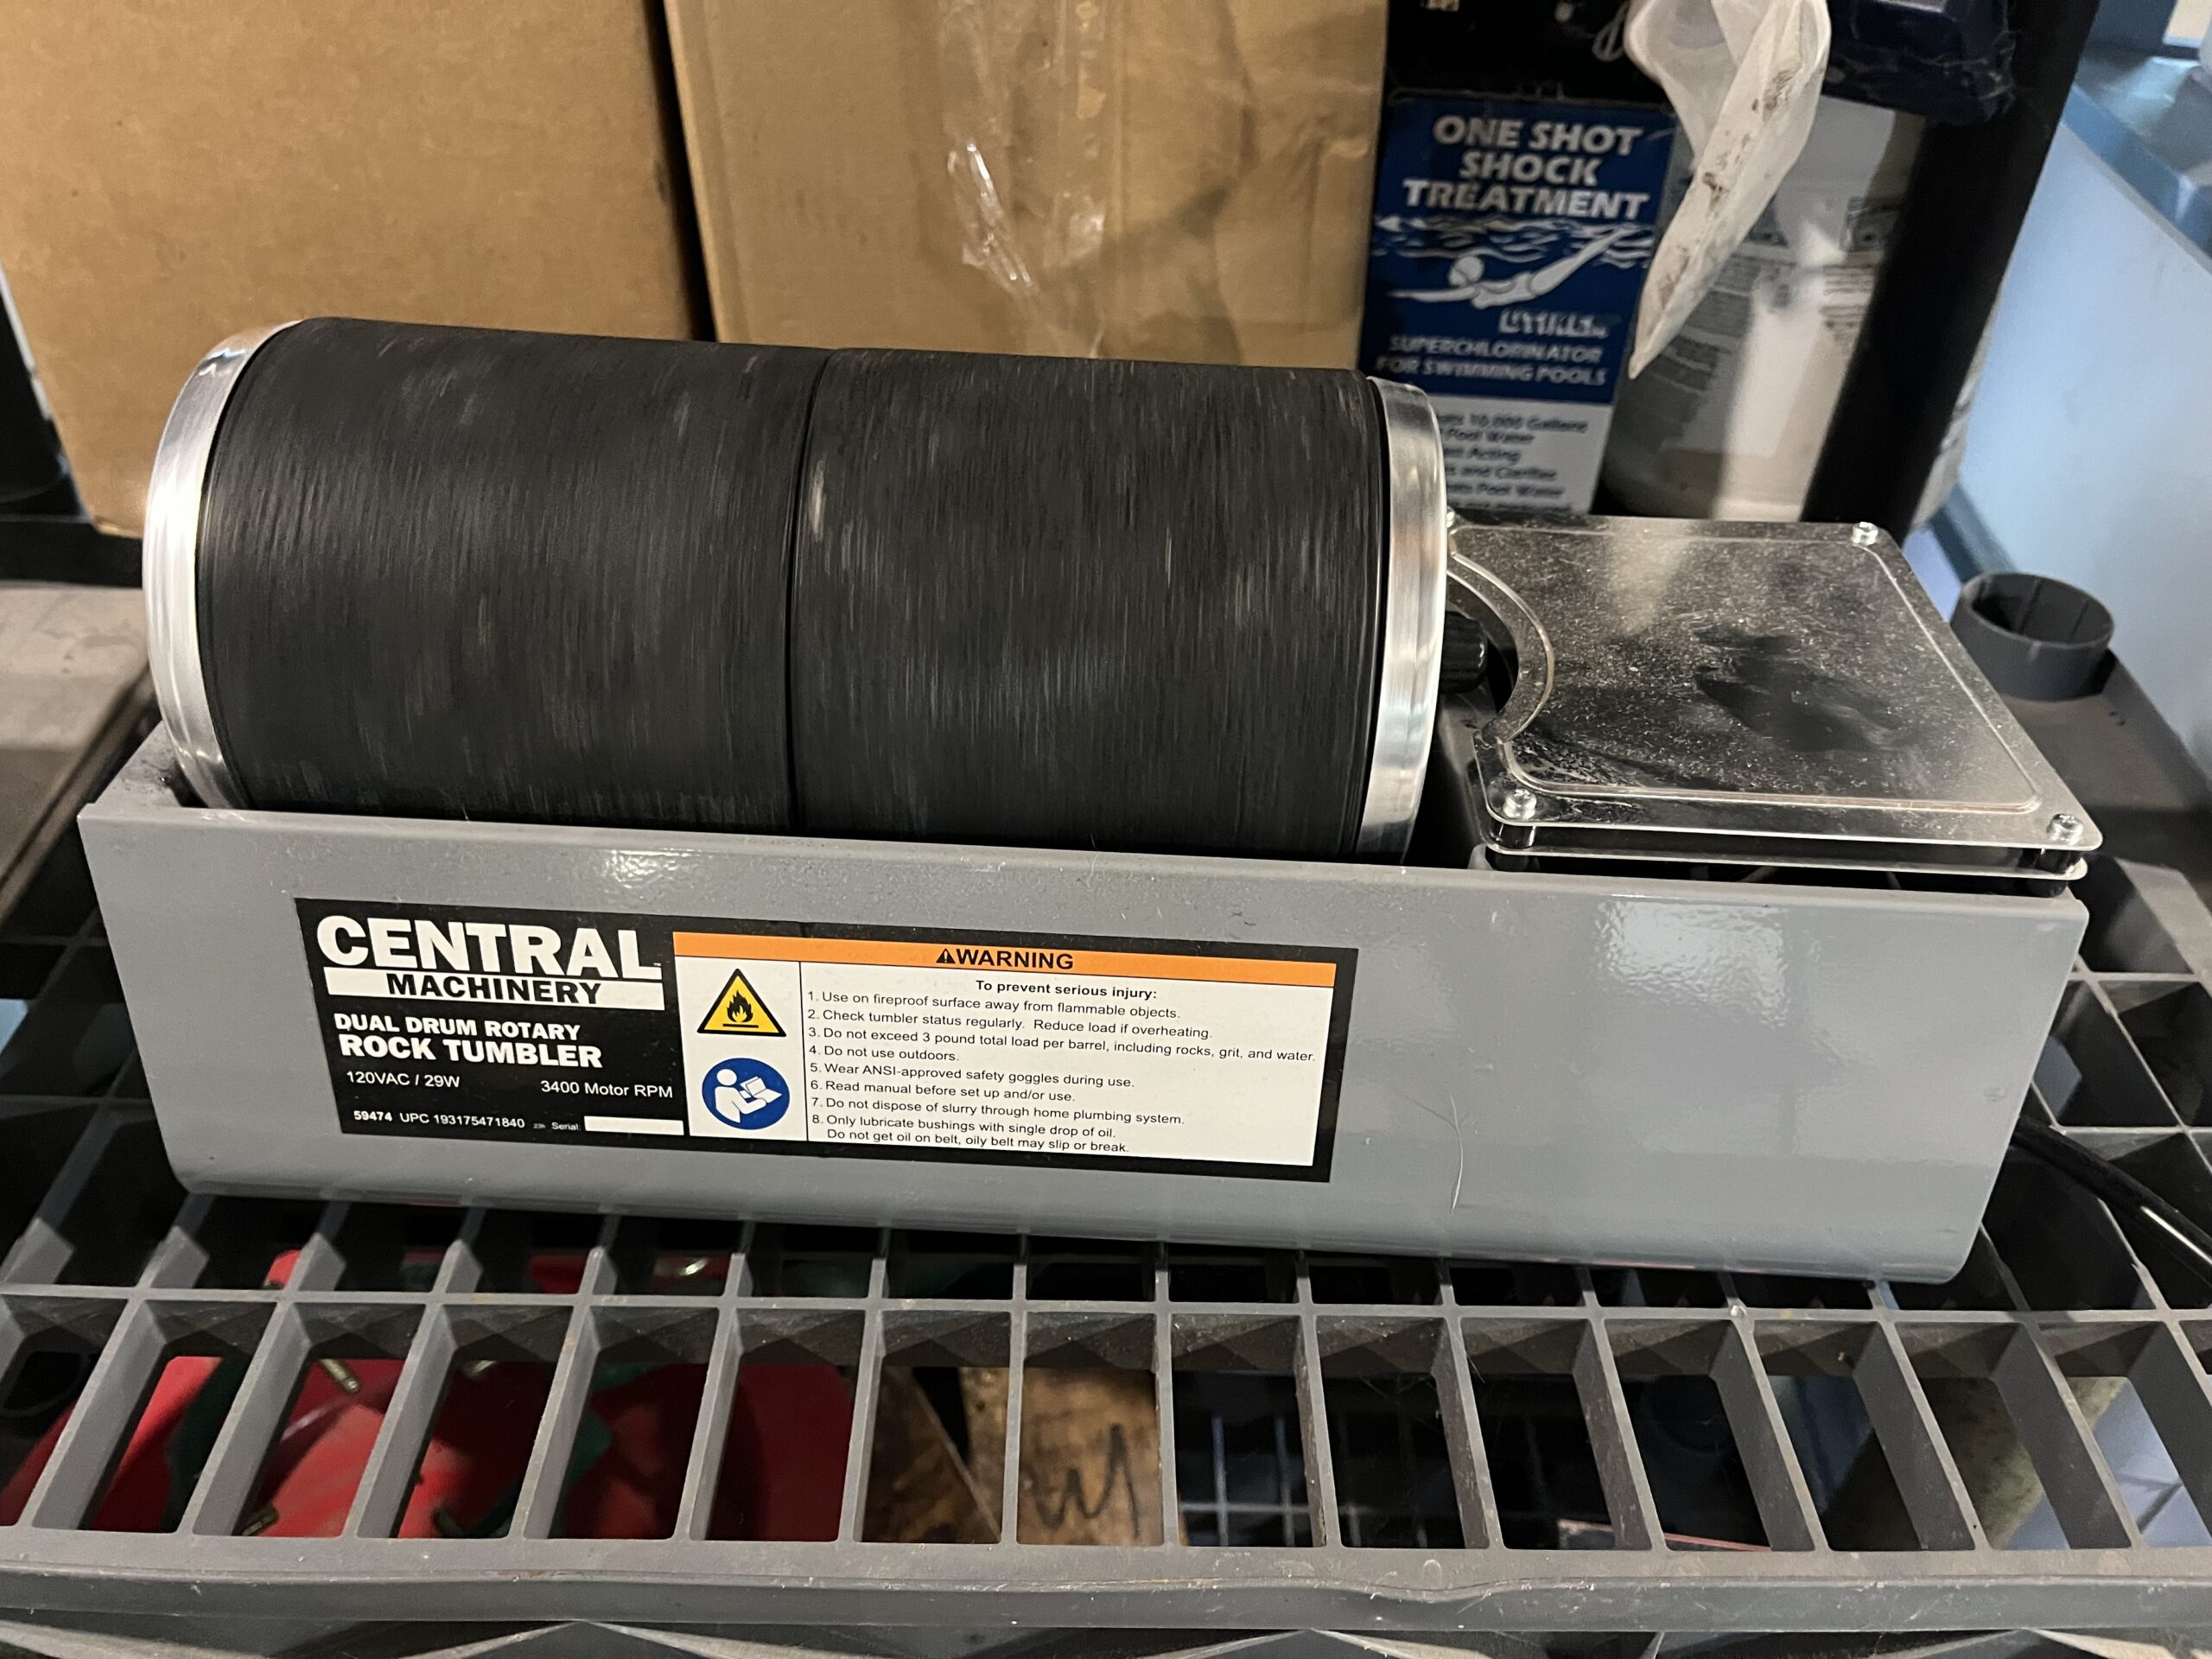
Now, I use a Central Machine dual barrel rotary rock tumbler that I bought at Harbor Freight. This tumbler allows me to tumble twice as many rocks as before, and so far, I haven’t had a problem with it.
Grit and Polish
Grit is an essential part of tumbling and polishing rocks. A different grit for each stage of tumbling is needed.
Stage 1: 60-90 Grit
Stage 2: 120-220 Grit
Stage 3, or the pre-polish stage: 500 Aluminum Oxide Grit
Stage 4 or the polish stage: Aluminum Oxide Polish
You can use the grit and polish that comes with your kit if you buy one, but if you need more grit, I recommend buying it from The Rock Shed. You need to ensure you get the grit and polish for the type of tumbler you have, either a rotary tumbler or a vibratory one. Someone very serious about tumbling rocks recommended this grit and polish. I tried it out and could see the difference between what I was using and this new grit and polish.
Ceramic Media
Ceramic media is also something I would use, but it’s not necessary. The purpose is to help cushion the rocks so they don’t slam into each other and cause cracks. If your barrel is full enough, you don’t need to add them. As the rocks wear down from each stage they go through, they no longer fill the barrel up as much. You must add the media to the barrel or more rocks at the same process stage. I only use the ceramic media. I read that it is better than plastic media because you can use it at any stage of the process and use as many as you want without complications. Too much plastic media causes poor-quality finishing in your rocks.
Distilled Water
If you have a lot of lime in your water, like I do, I recommend distilled water. Lime can be hard on things.
Borax
Borax is needed at the end of the last stage to wash the rocks in the tumbler. After each stage, you can also use it to ensure all the grit is off the rocks and the barrel is clean before starting a new tumbling stage. Anyone can find Borax at stores like Target, Walmart, or Amazon.
Strainer
A strainer is needed to separate the water and grit solution from the rocks after each stage of tumbling. I would use an old one dedicated to this activity. If you buy a kit to start tumbling, it might just come with a strainer.
Bowl or Bucket
After each stage, an old bowl or bucket must be used to dump the water and grit solution. You DON’T want to dump the mixture down the drain in your house. It will damage your plumbing. The used grit should get dumped outside. The old bowl or bucket could be repurposed, such as an ice cream bucket or cool whip bowl.
Rocks
Rocks are a main ingredient in rock tumbling. The rocks can be ones you found or ones you bought. See my blog post on rock collecting to get some ideas for collecting your own. The critical part is that the rocks are ones that you like, not those that fall apart quickly. Limestone and Sandstone rocks will wear away to nothing during the tumbling process. You want to use harder rocks such as quartz or jasper. If you don’t know what type of rocks you have, just tumble them anyway if you like them. It can be a fun experiment to see which rocks work better. Don’t let not knowing your rocks and their hardness get in the way of you enjoying this fun hobby.

Leave a Reply